Share your thoughts on this new website

Setting Up Packback in Blackboard

Packback is compatible for integration with most Learning Management System (LMS) platforms, including Blackboard. This article lays out for you how you can go about enabling Packback in Blackboard.

The following articles cover the most important steps to adding Packback to Blackboard:

LMS and Gradebook Sync Setup Guide for Blackboard 1.1 (Blackboard Learn)

LMS and Gradebook Sync Setup Guide for Blackboard 1.3 (Blackboard Ultra)

(Note: Blackboard 1.1 is the Original and Blackboard 1.3 is the Ultra experience.)

Contact Support

This article was created and is maintained by the Office of Academic Technology.

If you have found an error in this article or if you need assistance incorporating this article in your course, please contact an Educational Technologist.

Qwickly Course Tools – Creating Calendar Event

How to Create a Calendar Event in Qwickly Course Tools

With Qwickly Course Tools, you can inform students of events across multiple courses like office hours or study sessions.  Using the calendar tool is one way to ensure increased student participation in scheduled events.

From your Blackboard Ultra Navigation page, click Tools from the menu pane and select Qwickly Course Tools.

Blackboard Ultra Navigation Tools page

In Course Tools, scroll down and select Create Calendar Event.screenshot of create calendar event task in course tools

Next, enter calendar event information such as Location, Date, Start and End time, then click Submit.screenshot of entering event details

Contact Support

This article was created and is maintained by the Office of Academic Technology.

If you need assistance incorporating this article in your course, please contact an Educational Technologist.


Enabling Respondus Instructor Live Proctoring

As part of ACC’s license with Respondus, a new addition to the Respondus LockDown Browser tool has recently come online which provides a new synchronous proctoring opportunity.  Respondus Instructor Live Proctoring allows an instructor to proctor students remotely using Zoom, Google Meet, or Microsoft Teams, and Respondus LockDown Browser at the same time.

This proctoring option is intended for small classes where the instructor will watch students in real time using a video conferencing system like Zoom. There is no flagging or proctoring alerts with live proctoring but students are still locked into the testing environment with lockdown browser.

Zoom is the recommended tool for use with Instructor Live Proctoring.

Students will use LockDown Browser to take their exams while faculty use Zoom to monitor the student’s webcams for enhanced security.  This article provides information on how to enable Respondus Instructor Live Proctoring.

  1. In the class Blackboard, navigate to the Respondus LockDown Browser settings dashboard located under the Course Tools tab.screenshot dashboard of lockdown browser and proctoring settings
  2. Click the dropdown arrow next to the exam you wish to enable and click “settings”.
  3. Select the option for “Require Respondus LockDown Browser for this exam”.
  4. Under the Proctoring listing that pops up, select the “Allow live instructor proctoring for this exam (via Zoom, Teams, etc.)”. screenshot of where to select your video conferencing system for live proctoring
  5. Select the video conferencing option you wish to use from the dropdown menu (Zoom is recommended).
  6. Enter a unique “start code” so that students cannot start the exam early.
  7. Click “save and close”.
  8. Provide the date, time, and link to the web conferencing session in your announcements page and wherever else you post your testing information.

Information about the student experience taking an Instructor Live Proctoring exam can be found at this article titled “Availability of Online Testing Platforms (Respondus Monitor and Distance Education Proctoring)”.

To learn more about instructor live proctoring an exam, view the video produced by Respondus:

https://www.youtube.com/watch?v=DiyaeDGpPrY&w=560&h=315

NOTE: It is recommended that faculty poll their students to determine whether any of them are dual credit and using a school district-issued Chromebook. Most of these devices issued by a school district are heavily locked down and prevent the installation of third party software such as Respondus or Zoom.

In addition, iPads are not compatible with Instructor Live Proctoring due to Apple software limitations that prevent having both LockDown Browser and a web conferencing tool active at the same time. Alternative testing arrangements may need to be made for these students.

Contact Support

This article was created and is maintained by the Office of Academic Technology.

If you need assistance incorporating this article in your course, please contact an Educational Technologist.

Adding a New Contact in Zoom

By default, your Zoom contacts directory contains all staff and faculty Zoom accounts from ACC in the All Contacts section.

You can add any external Zoom user as a contact by specifying their email address. After they approve your contact request, you will be able to chat, share images and files, and meet instantly.

To learn more, click Managing Contacts to read the article

Contact Support

This article was created and is maintained by the Office of Academic Technology

If you have found an error in this article or if you need assistance incorporating this article into your course, please contact the Educational Technologists.

How to Include Audio from a Shared Video in Zoom

Zoom screen sharing allows you to share the desktop, window, application, or audio/video. Zoom allows you also to send computer audio to the remote attendees when sharing a video or audio clip.

To learn more, click Sharing Computer Sound to read the article.

Contact Support

This article was created and is maintained by the Office of Academic Technology

If you have found an error in this article or if you need assistance incorporating this article into your course, please contact the Educational Technologists.

Submit A Group Assignments

Submitting A Student Group Assignment
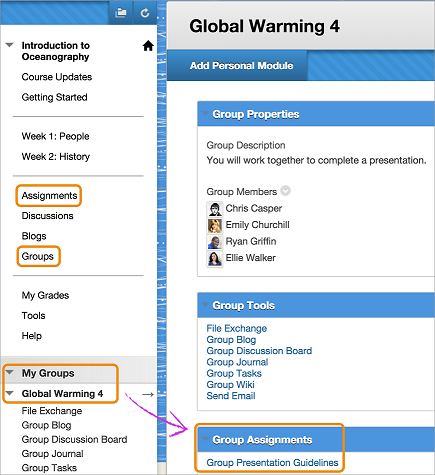
On the course menu, select the link that holds the group assignment, such as “Assignments.” Select the name of the group assignment. …
On the Upload Assignment page, review the instructions, due date, points possible, and download any files provided by your instructor.
Your instructor can display group assignments in different areas of your course. You might access group assignments from links on the course menu called “Assignments” or “Groups.” Or, your instructor might incorporate group assignments into each week’s content. Group assignments may also appear in the My Groups panel after the course menu. Ask your instructor if you have questions about how your course is organized.

Remove Formatting after Copying + Pasting from Microsoft Word

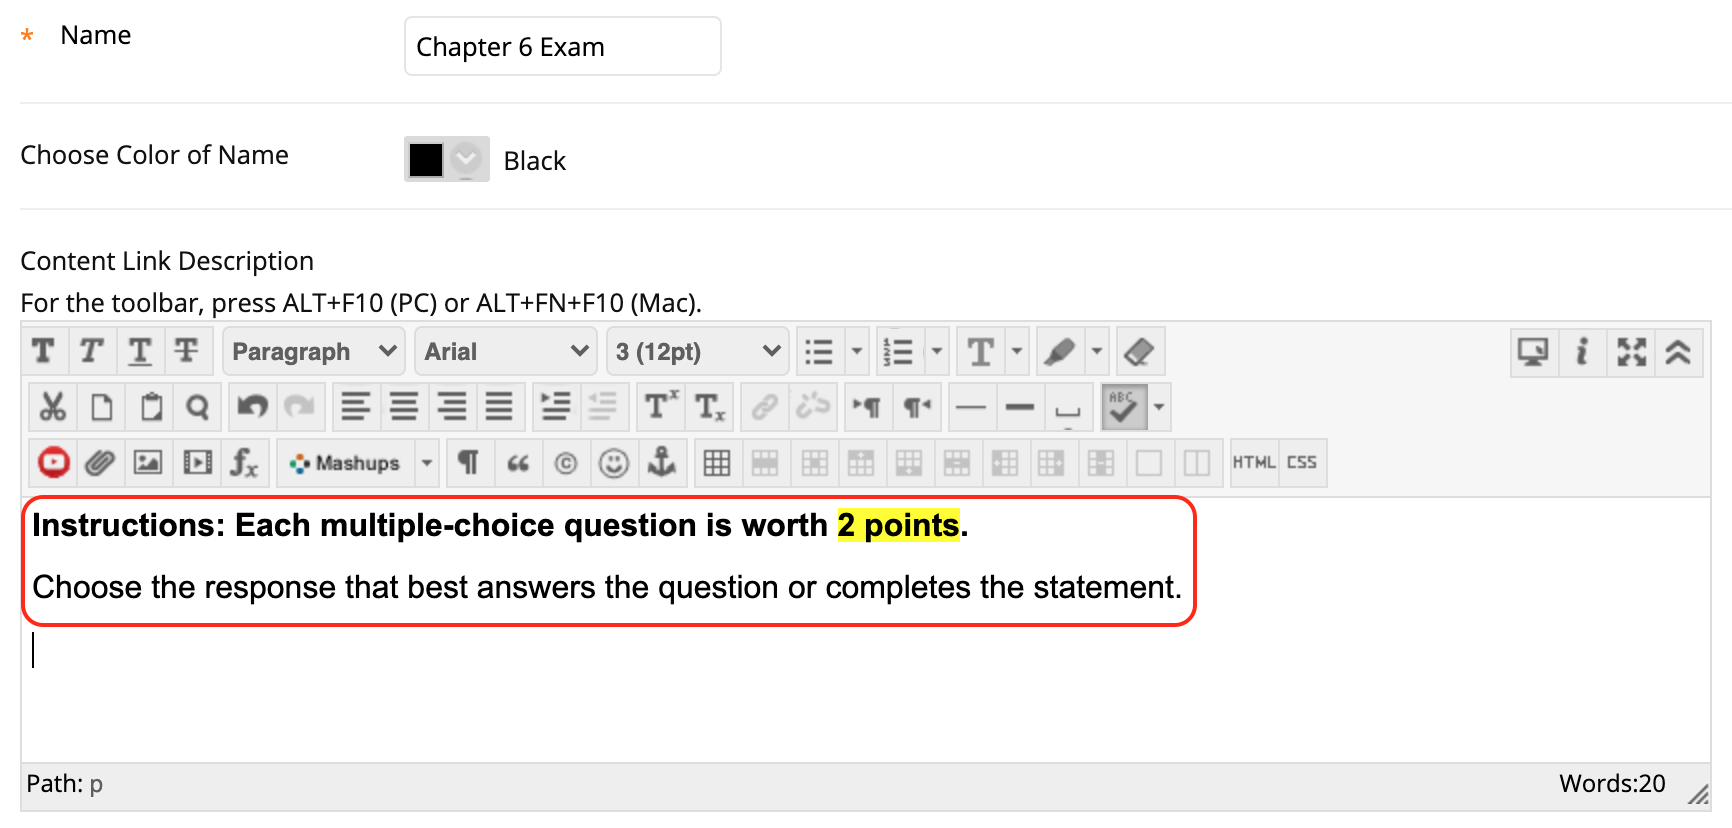
Whenever you copy and paste text from a Word document to a Blackboard text editor, you’ll notice the formatting copies over. You’ll want to remove the formatting for the text to appear correctly on Blackboard. Luckily, there’s a way to do that.

  1. First, copy the text you want to bring over from a Word document to Blackboard. Highlight the text and press Ctrl + C on the keyboard (Cmd + C on a Mac) or right-click the text and select Copy.Copy text
  2. Go to the Blackboard text editor and paste the text, either by pressing Ctrl + V on the keyboard (Cmd + V on a Mac) or right-click the text and select Paste. Notice the formatting carries over. Pasted text
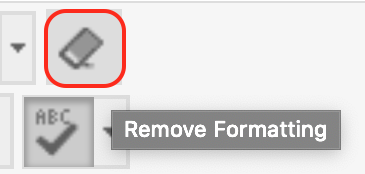
  3. Highlight the entire text, and locate the Remove Formatting icon.Remove Formatting buttonClose up Remove Formatting button
  4. The formatting has now been removed. Text with formatting removed