If you have converted your exams into an online format for students to take from home, please follow the testing platform setup instructions based on the scenario which best matches how you wish your students to test.
NOTE: The Respondus test bank software is now available on the Virtual Desktop. If you have not enabled Virtual Desktop, you can do so here.
Availability of testing platforms:
- Respondus LockDown Browser/Monitor: Windows and Mac (PCs and laptops), iPad, Chromebook
- Distance Education Proctoring: Windows and Mac (PCs and laptops), Chromebook
View the options below for instructions:
I want my students to test at home unsupervised
- Do not assign a password to your exams.
- Do not activate the Respondus LockDown Browser requirement.
- Set the Restrict Location option in your test settings to No Restrictions.

I want my students to test using Respondus LockDown Browser at home
- Do not assign a password to your exams.
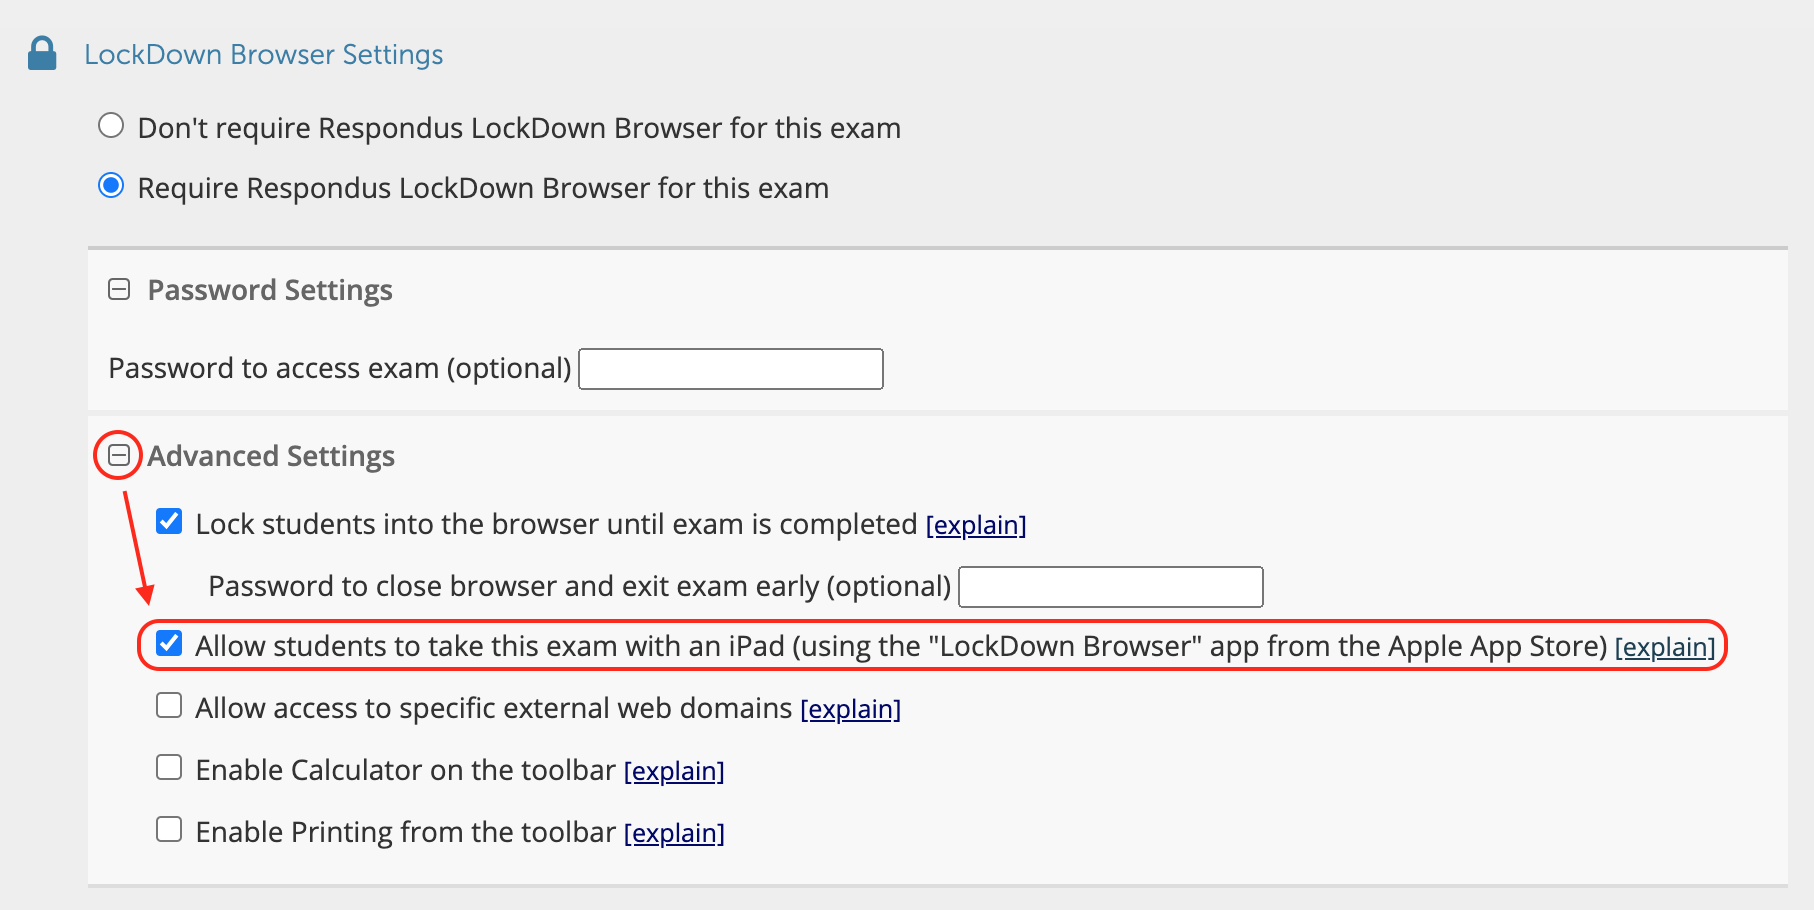
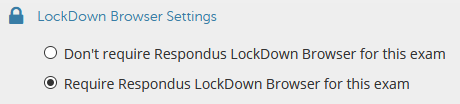
- Select Require Respondus LockDown Browser for this exam.
- If you have a student that is using an iPad, under Advanced Settings, select Allow students to take this exam with an iPad.

- Set the Restrict Location option in your test settings to No Restrictions.
Respondus LockDown Browser Communication for Your Students
Prepare students to use LockDown Browser, using this information: Respondus LockDown Browser Download & Information to Add to Your Syllabus
I want my students to test using Respondus LockDown Browser and Respondus Monitor at home
- Do not assign a password to your exams.
- Select Require Respondus LockDown Browser for this exam.
- If you have a student that is using an iPad, under Advanced Settings, select Allow students to take this exam with an iPad.

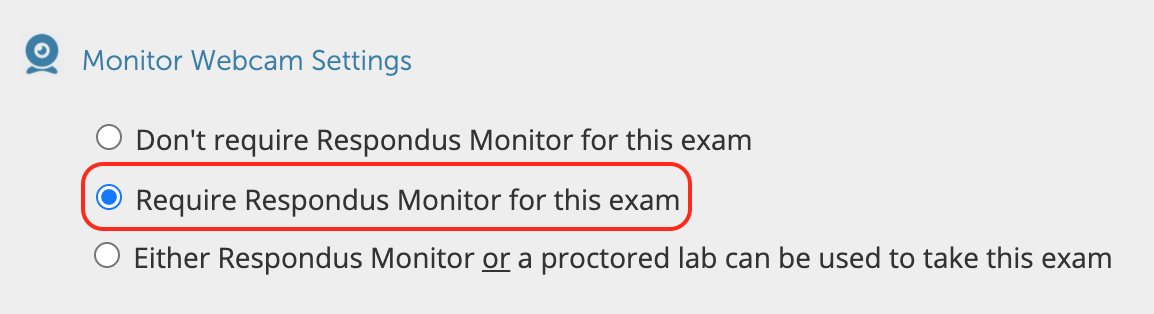
- Under Monitor Webcam Settings, select Require Respondus Monitor for this exam.

- Set the Restrict Location option in your test settings to No Restrictions.
 Respondus LockDown Browser Communication for Your Students
Prepare students to use LockDown Browser, using this information: Respondus LockDown Browser Download & Information to Add to Your Syllabus
I want my students to test using DE Proctoring
NOTE: If you intend to use a different testing method for your online exams but have a student with a Chromebook that cannot test otherwise it is recommended that you clone the exam(s) to make them compatible with Distance Education Proctoring. Once you have done so, follow the instructions below.
- In the Blackboard Test Options, assign a Blackboard password.

- Set the Restrict Location option in your test settings to No Restrictions.
- Do not activate the Respondus Lockdown Browser requirement (Respondus LockDown Browser is not compatible with ACC Remote Proctoring).
- Set a time limit of no more than 2 hours.
- Fill out the Academic Test Transmittal Form.
- Distribute this PDF file to your student(s) so that they can be prepared for their testing session.
This article was created and is maintained by the Office of Academic Technology.
If you need assistance incorporating this article in your course, please contact an Educational Technologist.